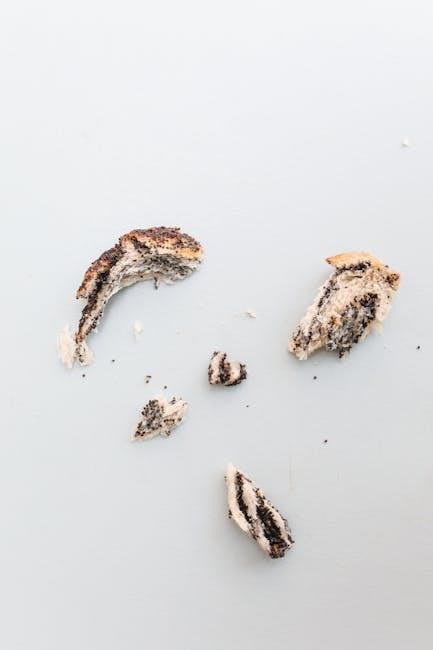
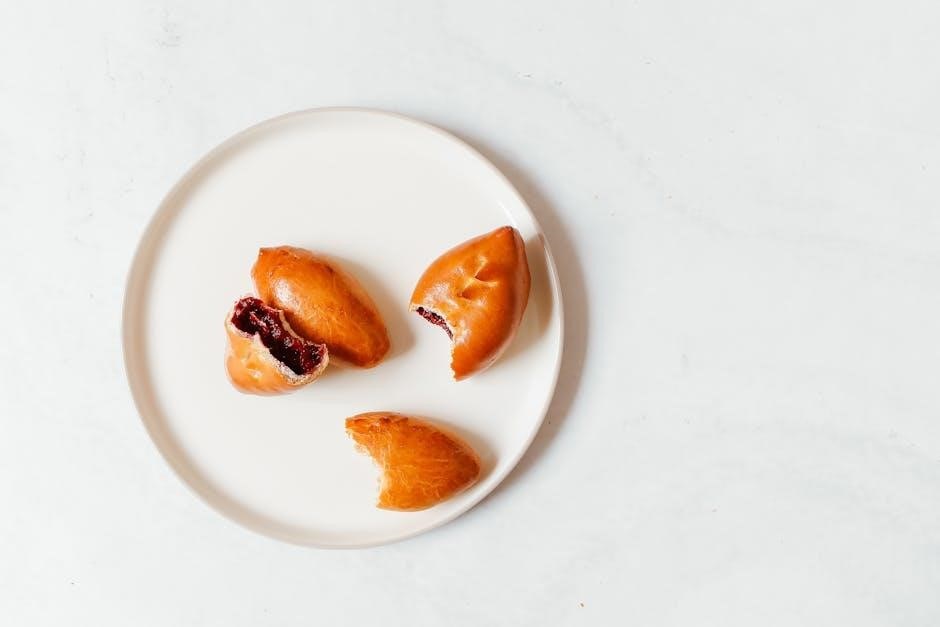
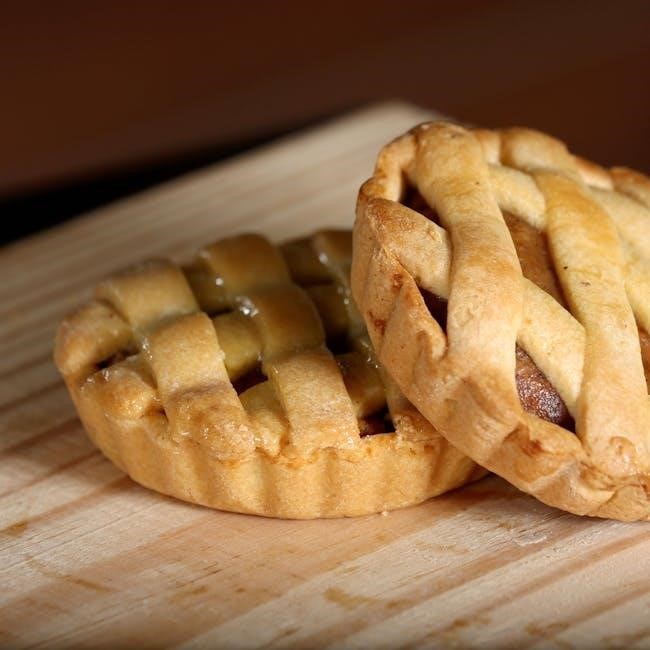
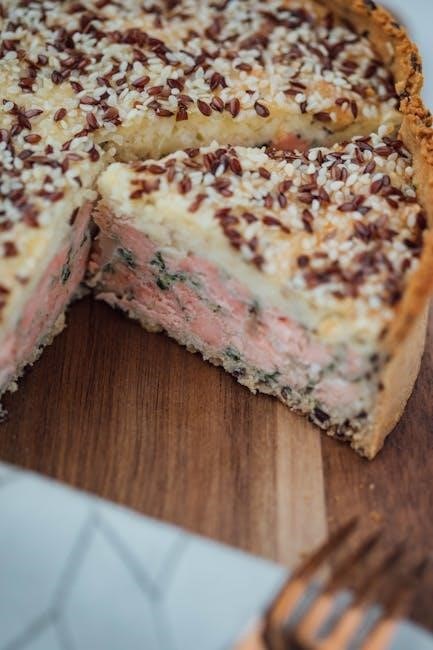
A gluten-free pie crust offers a delicious alternative for those with dietary restrictions, providing a flaky and flavorful base for both sweet and savory fillings․
Mastering this crust requires careful selection of ingredients and techniques to ensure texture and taste, making it a great option for any gluten-free baking enthusiast․
1․1 Overview of Gluten-Free Baking
Gluten-free baking requires careful substitution of traditional flours with blends that mimic gluten’s elasticity, ensuring structure and texture in baked goods like pie crusts․ Common ingredients include rice flour, almond flour, and starches, often combined with xanthan gum for binding․ The challenge lies in achieving the right balance to avoid crumbliness or density, making it essential to follow precise measurements and techniques for optimal results․
1․2 Importance of a Good Pie Crust
A well-crafted gluten-free pie crust is essential for both structural integrity and flavor, providing a sturdy base that complements the filling without overpowering it․ A good crust enhances the overall pie experience, offering a delicate balance of crunch and tenderness․ Achieving this in gluten-free baking is particularly challenging, making it a cornerstone of successful gluten-free desserts․
Essential Ingredients for Gluten-Free Pie Crust
The foundation of a gluten-free pie crust lies in a well-balanced mix of gluten-free flour, xanthan gum, sugars, salts, and fats, ensuring texture and structure․
2․1 Gluten-Free Flour Blends
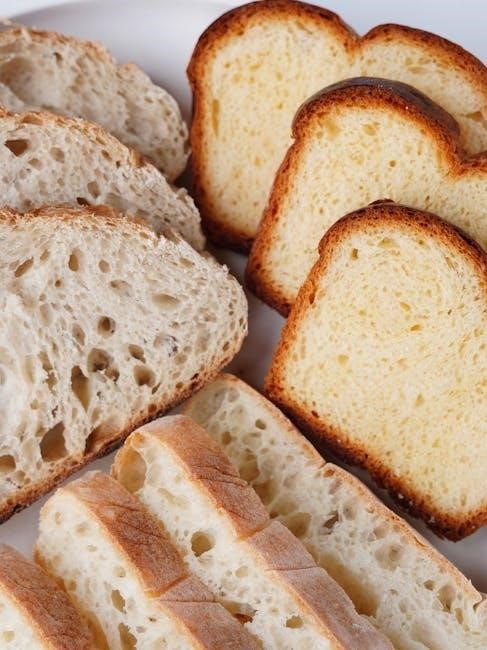
A high-quality gluten-free flour blend is crucial for a successful pie crust․ Popular options include King Arthur Gluten-Free All-Purpose Flour and Bob’s Red Mill Gluten-Free 1:1 Baking Flour․ These blends typically contain a mix of rice flour, potato starch, and tapioca flour, ensuring a balanced texture․ Xanthan gum is often added to improve elasticity and structure, mimicking the properties of gluten in traditional dough․ This combination helps achieve a flaky and tender crust, essential for both sweet and savory pies․
2․2 Additional Ingredients: Sugars, Salts, and Fats
Granulated sugar enhances flavor and browning, while salt balances sweetness and savory notes․ Fats like unsalted butter or shortening are essential for a flaky texture․ Ensure fats remain cold to maintain dough structure․ Some recipes incorporate coconut oil for a dairy-free option․ These ingredients work together to create a balanced, flavorful crust, with proper proportions critical for achieving the desired consistency and taste in gluten-free baking․
Tools and Equipment Needed
A large mixing bowl, measuring cups, a pastry blender or food processor, and a rolling pin are essential․ A pie dish, parchment paper, and pie weights are also necessary for baking․
3․1 Mixing and Rolling Tools
A large mixing bowl, measuring cups, and a pastry blender or food processor are essential for combining ingredients․ A rolling pin is crucial for shaping the dough evenly․ Optional tools like a stand mixer or silicone mats can enhance efficiency․ Ensure all tools are clean and dry to maintain dough integrity and achieve the desired texture․
3․2 Baking Essentials
Key baking tools include pie weights or dried beans for blind baking, parchment paper for lining, and pie shields or foil to prevent edge burning․ A preheated oven with an accurate thermometer ensures proper temperature control․ These essentials help achieve a perfectly baked crust without undercooking or overbrowning, ensuring a professional finish for your gluten-free pie․
Step-by-Step Instructions for Making Gluten-Free Pie Dough
Combine dry ingredients, then add cold butter or shortening, mixing until the mixture resembles coarse crumbs․ Gradually add ice-cold water, stirring until dough forms․ Divide dough, shape into disks, and chill before rolling․
Ensure all ingredients stay cold for optimal texture and flakiness․
4․1 Combining Dry Ingredients
gluten-free flour blend, xanthan gum, and sugar in a large bowl․ Add a pinch of salt and mix well to ensure even distribution; For sweet pies, include a tablespoon of sugar; omit for savory recipes․ Use a food processor or whisk to aerate the mixture, ensuring a smooth base for the dough․ This step is crucial for achieving a uniform texture in the crust․
Proceed with cold ingredients for optimal results․
4․2 Incorporating Fats and Liquids
Cut cold butter or shortening into small cubes and add to the dry ingredients․ Use a pastry cutter or fingers to work the fats into the flour until the mixture resembles coarse crumbs․ Gradually add ice water or another liquid, mixing until the dough forms a cohesive ball․ Be careful not to overmix, as this can lead to a tough crust․ If needed, add a little more liquid to bind the dough together․
This step ensures a flaky and tender texture․
Rolling and Shaping the Crust
Gently roll the dough on a floured surface to desired thickness, ensuring evenness․ Transfer to a pie dish, trim edges, and shape as needed for a perfect fit․
5․1 Tips for Achieving the Right Texture
- Keep ingredients cold to maintain dough structure and prevent shrinking․
- Use the right gluten-free flour blend for elasticity and texture․
- Avoid overworking the dough to ensure a tender, flaky crust․
- Chill the dough before rolling to enhance pliability and shape retention․
5․2 Transferring Dough to the Pie Dish
To transfer the dough, roll it into a circle on a floured surface․ Carefully place it into the pie dish, gently pressing it into the corners․ Trim excess dough from the edges and smooth the sides for an even finish․ This ensures a uniform crust thickness and prevents cracking during baking․
Chilling and Preparing the Crust
Chill the dough to relax gluten-free flours and prevent shrinkage during baking․ Preheat the oven, prick the crust with a fork, and line with parchment and pie weights to avoid air pockets․
6․1 Chilling the Dough
Chilling the gluten-free dough is crucial for achieving a flaky texture․ Place the dough in the refrigerator for at least 30 minutes or in the freezer for 10 minutes․
6․2 Preheating and Pricking the Crust
Preheat the oven to 375°F (190°C)․ Lightly prick the bottom and sides of the crust with a fork to prevent air bubbles from forming during baking․ Line with parchment paper and add pie weights or dried beans to keep the crust flat․ This step ensures an evenly baked crust without puffing or shrinking․
Blind Baking the Crust
Blind baking involves pre-baking the crust without filling․ Line with parchment paper, add pie weights or beans, and bake at 375°F for 15-20 minutes until lightly golden․
7․1 Using Pie Weights or Beans
For blind baking, line the crust with parchment paper and fill with pie weights or dried beans․ This prevents air bubbles and helps maintain shape․ Bake at 375°F for 15-20 minutes, then remove weights and parchment for further baking if needed․ Ensure the crust is lightly golden but not overcooked․ This step is crucial for a sturdy base before adding fillings․
7․2 Baking Times and Temperatures
Preheat your oven to 375°F (190°C)․ Bake the crust for 15-20 minutes for a parbaked crust or 25-30 minutes for a fully baked one․ If using pie weights, remove them after 15 minutes and continue baking for an additional 5-10 minutes․ For filled pies, bake at 400°F (200°C) for 15-18 minutes, adjusting as needed to prevent burning․ Ensure the crust is golden and set before filling․
Tips for a Flaky Gluten-Free Crust
Maintain cold ingredients to prevent butter from melting, ensuring a flaky texture․ Avoid overmixing dough to preserve structure and achieve a tender, layered crust․
8․1 Maintaining Cold Ingredients
Keeping ingredients cold is crucial for a flaky gluten-free crust․ Use chilled butter and ice-cold liquids to prevent the dough from becoming too warm, which can make it tough․ Refrigerate all components before mixing, and consider freezing butter for 10–15 minutes․ Cold fats create layers in the dough, resulting in a tender, flaky texture when baked․ This step is essential for achieving the desired consistency․
8․2 Avoiding Overmixing the Dough
Overmixing gluten-free pie dough can lead to a dense, tough crust․ Mix ingredients just until they come together in a shaggy mass, then stop․ Overworking activates starches, making the crust less flaky․ Instead, use short pulses in a food processor or gently fold by hand․ Chilling the dough after mixing helps relax the ingredients, ensuring a tender texture when baked․ This step is vital for achieving a light, flaky crust․
Common Mistakes and Troubleshooting
Common mistakes include overmixing dough, incorrect temperature, and improper ingredient ratios, leading to tough or crumbly crusts․ Adjustments often involve chilling or adjusting flours for better texture․
9․1 Crumbly or Tough Crust
- A crumbly crust often results from overmixing or using too much flour, disrupting the balance of fats and liquids․
- Toughness can occur if ingredients aren’t kept cold, preventing flaky layers from forming․
- Solutions include adjusting flour ratios, ensuring proper chilling, and using the right fats for texture․
9․2 Preventing Burning or Undercooking
- Prevent burning by covering crust edges with foil or pie shields during baking․
- Use pie weights or beans to avoid air bubbles and undercooking․
- Ensure even cooking by preheating the oven and monitoring baking times․
- Avoid high temperatures that can burn the crust before the filling is ready․
Gluten-free pie crusts offer versatility and flavor, allowing for creative variations like savory or sweet fillings․ Experiment with flavors by adding cocoa or herbs for unique twists․
Store leftover crusts in airtight containers for up to 3 days or freeze for later use․ Reheat gently to maintain crispness and texture․
10․1 Experimenting with Flavors
Enhance your gluten-free pie crust by infusing unique flavors․ Try adding cocoa powder for a chocolate crust or herbs like thyme for a savory twist․ Incorporate citrus zest or spices like cinnamon and nutmeg for a sweet variation․ For a bold twist, mix in espresso powder or use flavored extracts like vanilla or almond․ These additions create a personalized touch, making your pie crust stand out in both taste and aroma․
10․2 Storage and Reheating Tips
Store gluten-free pie crusts in airtight containers at room temperature for up to 2 days or refrigerate for up to 5 days․ For longer storage, freeze the dough for up to 3 months․ To reheat, bake frozen crusts at 375°F for 8-10 minutes or thawed crusts at the same temperature for 5-7 minutes․ Always let the crust cool slightly before serving to maintain its texture and structure․